
Projection Mapping
What would a Star Wars disco show look like?
I like Star Wars. Shocker!
I’ve always been in love with the costume design of these movies. Naturally, I made my own stormtrooper helmet.
Soon after, the all white surface beckoned me to use it as a surface to project a light show onto. Disco of course!
Like many animation challenges, this was something I had never done before, but adventure called me anyway. Come with me on this galactic journey into the world of projectors, light, and magic.
*I do not work for LucasFilm, nor do I intend for this to be mistaken for work by or for LucasFilm.
What is projection mapping?
No, it’s not how Luke Skywalker fights Kylo Ren. (Yes, that’s right, a Last Jedi reference. I liked the movie deal with it!)
A projector’s image is still a 2D image, but it gets distorted when thrown onto anything other than a flat screen.
However, when you map that 3D viewpoint in a 2D space by distorting parts of that image to corner match surfaces, you can recreate images on the objects in real life.
This is the basis for all projection maps!
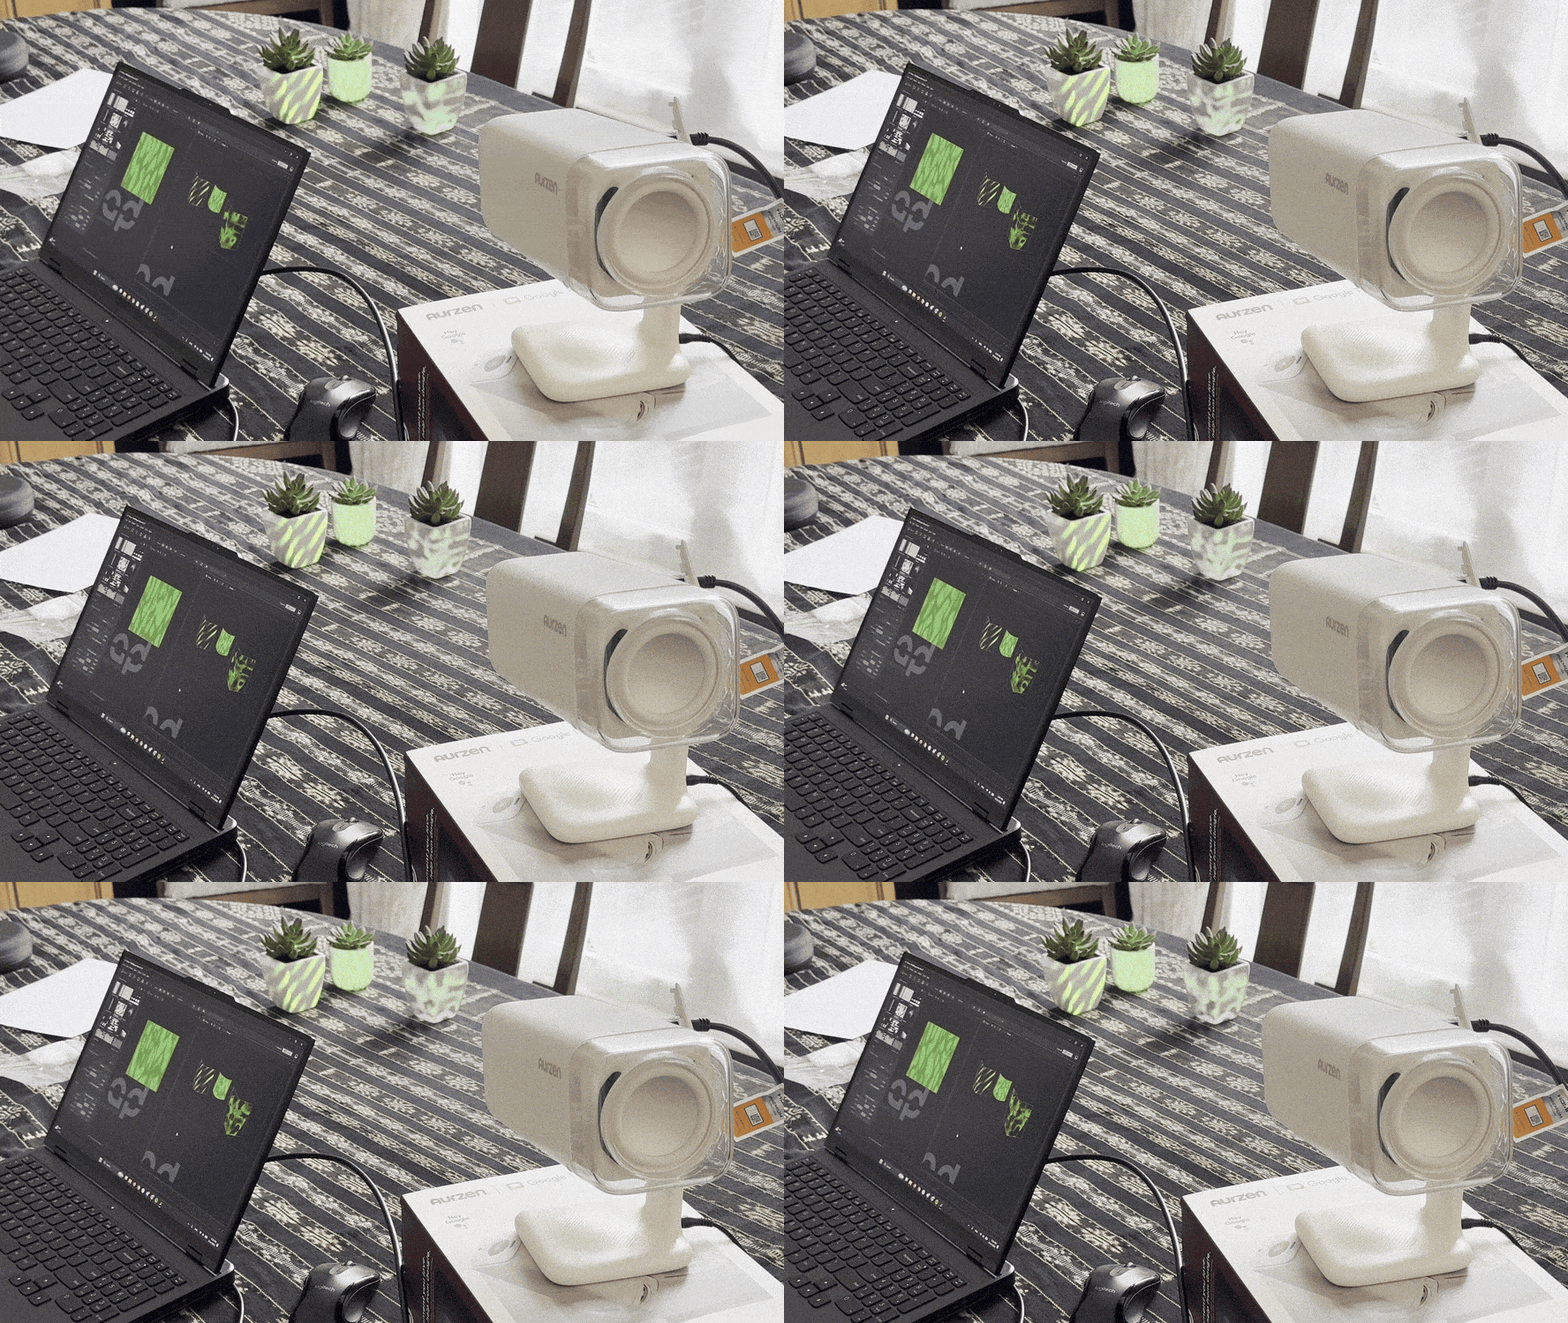
The Process
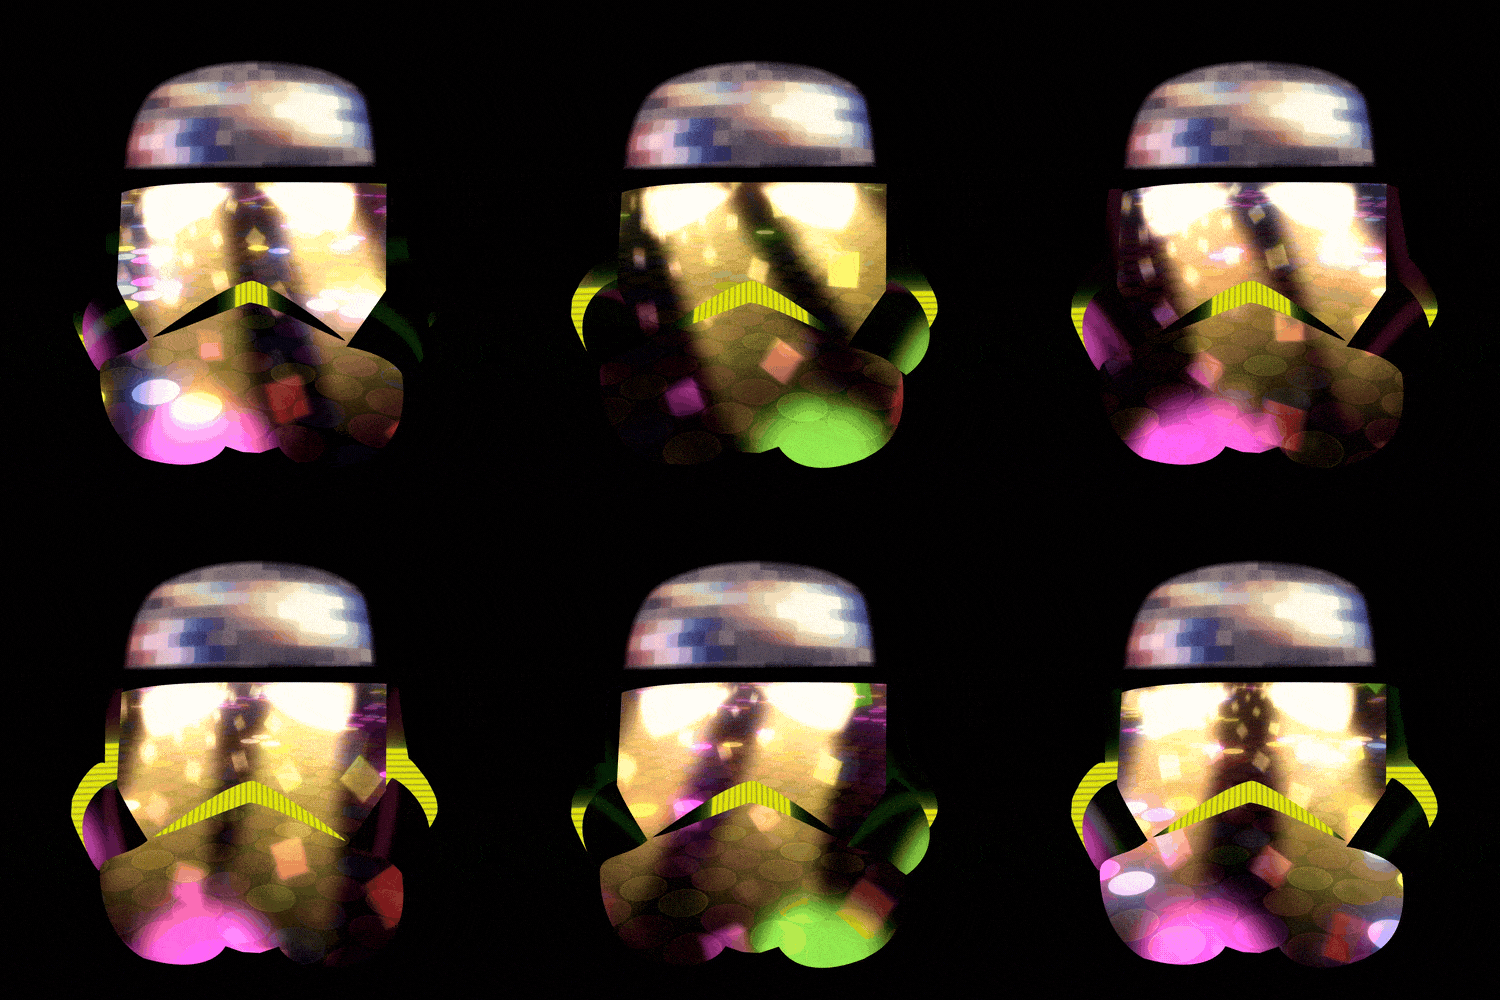
It’s a Mad, Mad, Mad, Mad Map
While I already knew in theory how projection mapping works, I didn’t know the nitty gritty details. So I researched!
You could do this entirely in After Effects, but I wanted faster and better control over the individual surfaces in the projection.
Enter MadMapper.
Within this program (free to try btw), I could breakdown the helmet into its component surfaces. Just by playing around with it, I quickly got the hang of it’s essential tools.
Along the way I found a fantastic tutorial by Motion by Nick about starting out with the craft: You can watch it here.
For the projector, I found a $250 short throw (something for small surfaces inside a room vs a whole house) that could swivel.
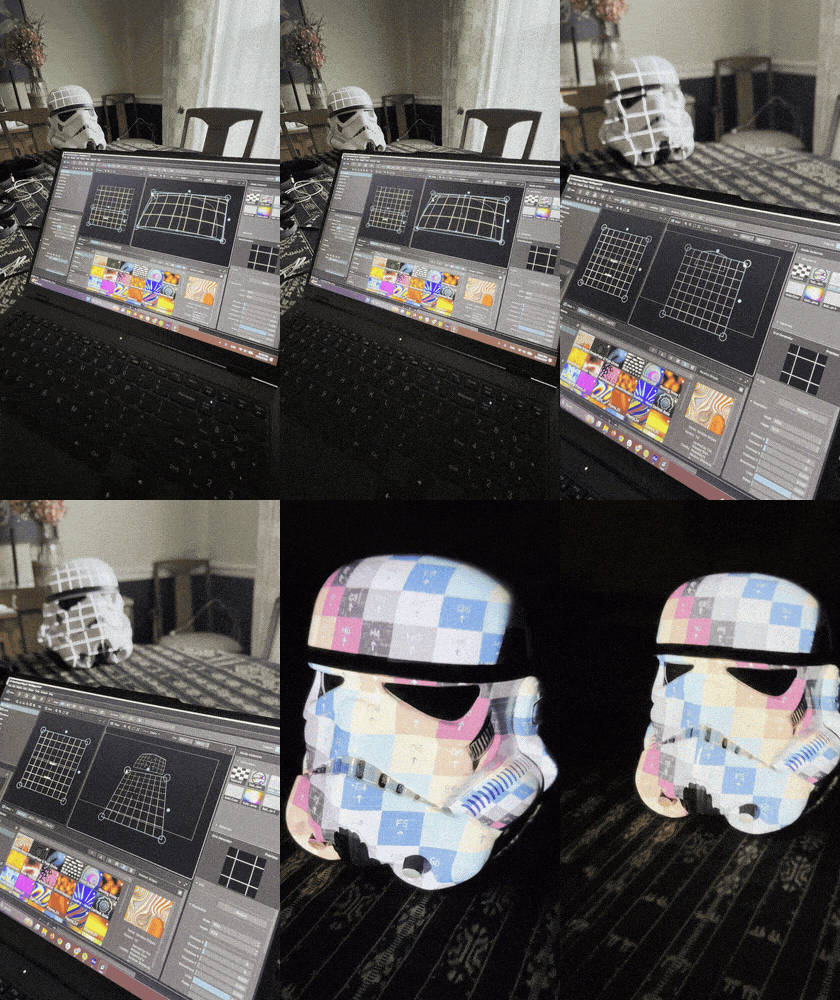
I’ve got a good feeling about this
I knew for sure I wanted the round top part to be a disco ball. It was the whole reason I wanted to do this.
After that I wanted to map the curves of the tubes along the chin.
The frown, ears, and face could be flat for the purposes of my experiment.
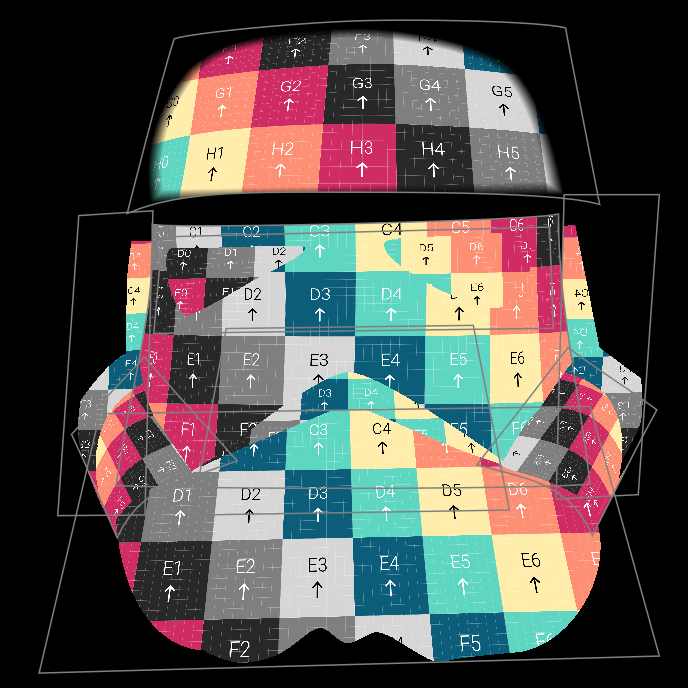
Once the topology was figured, it became a puzzle, one similar to those familiar with 3D texturing pipelines. I threw a texture test map as reference so I could recreate this in After Effects while I animated the surfaces.
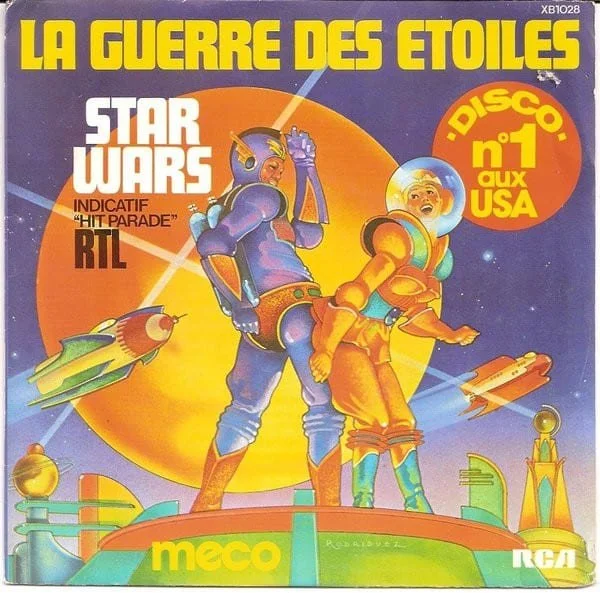
Not just cantina music
There was only one artist I knew I could use.
Meco.
I found an excerpt I wanted to use that I felt told a good aural story in about 30 seconds. I clipped it to make it feel right.
Then to accentuate the “stormtrooper-iness” and have more of my own twist, I peppered in voice lines from the movies and sound effects from the movies.
Importantly, it would also give me some fun visual cues to animation to later.
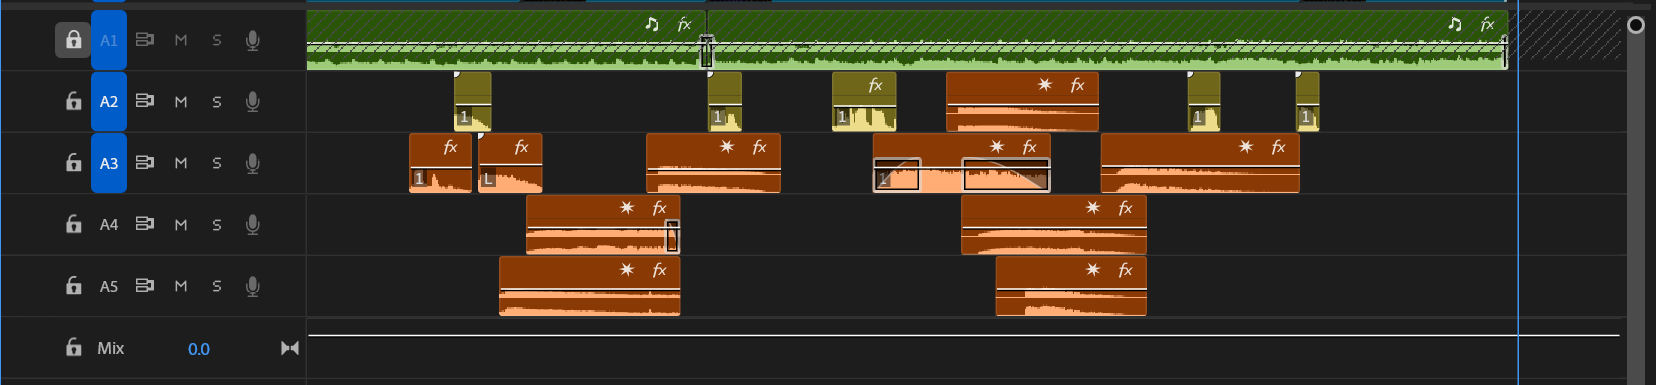
Photo credit: classical33.co.uk
Set surfaces to stun
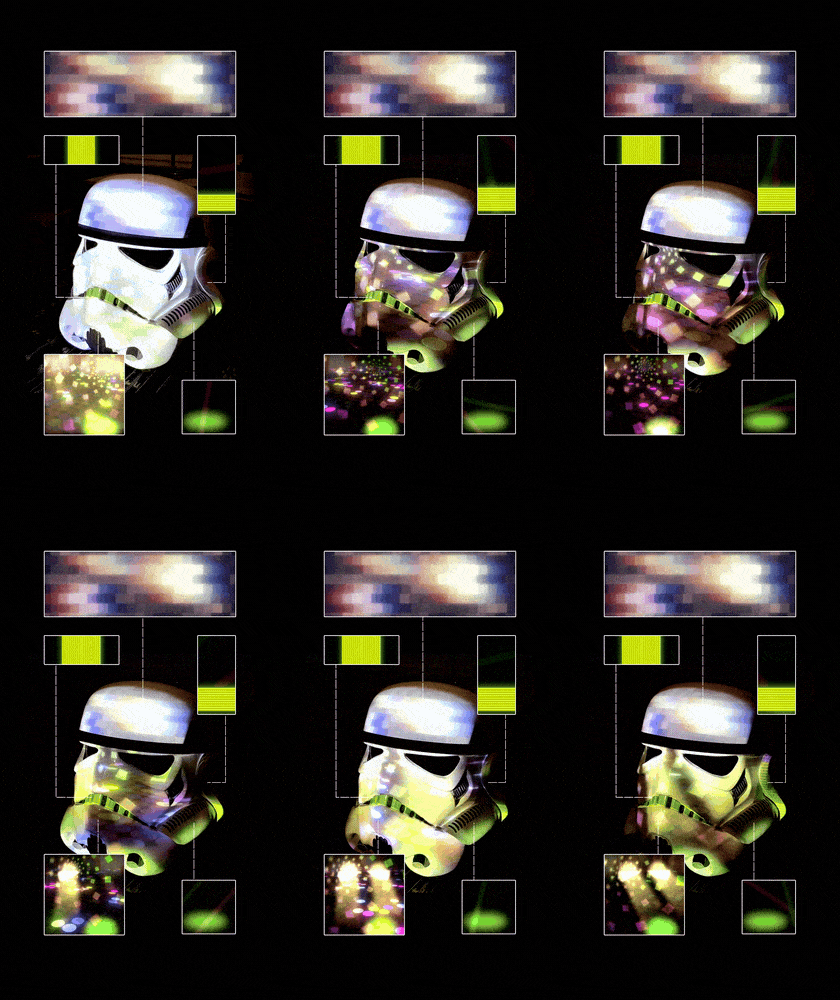
In After Effects, each surface was going to be rendered individually to be placed by MadMapper in the final show.
At times, I wanted all surfaces to show the same thing as one entire screen. So I had a portion of the same composition in each surface tied to one part of the whole.
I later learned this could be done more effectively in MadMapper, but hey that’s learning!
Some fun challenges included disco ball textures, procedural dance floors, and 3D TIE fighters.
Move along to final
After rendering each segment, I brought it back into MadMapper to assemble the show.
Within MadMapper, you actually have range of keyframing controls for any surface you place in a show. You can trace lines, alter opacity, etc.
What I learned is that the best workflow is to make individual clips in After Effects, export them, and then cue them within MadMapper.
The tool is really effective as a show designer, but not so much an image designer. I think that is where After Effects should really be leaned on within this workflow.